Using different markers for each category is possible in combination with the Categories Images plugin and a few lines of additional code.
How to install a new plugin is described here and here.
- Set the Category Image
- Include the Category Image Path in the Returned Search Data
- Use the Custom Category Markers With the wpsl_map Shortcode
Set the Category Image
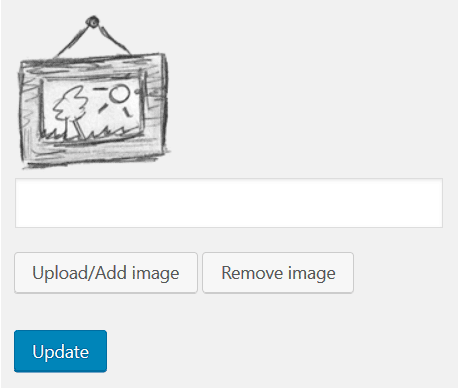
Once you have activated the Categories Images plugin, go to Store Locator -> Store Categories in the admin area, click on the category you want to set a custom image for, and either upload a new image or select an existing one from the Media Library.

Include the Category Image Path in the Returned Search Data
After you’ve selected a category image, you still need to include the image path in the returned data to make sure it’s used when the markers are placed on the map.
To do this, you need to use the wpsl_store_meta filter and assign the image path to the categoryMarkerUrl key.
Normally with custom fields, you can use whatever name you want, but in this case, it’s required to use categoryMarkerUrl. Otherwise, the JS script that handles the creation of the markers won’t detect it, and the category marker will not show up.
Use the Custom Category Markers With the wpsl_map Shortcode
If you’re using the wpsl_map shortcode on a page, and you’re using the category attribute to show locations from category x or y, then to make the custom category markers show up you need to use the wpsl_cpt_info_window_meta_fields filter.
The code below shows you how to do this.